

Happy Easter!
I belong to several excellent, online quilting groups. Lately, there has been quite a bit of discussion regarding the best method for appliqueing circles. I have always used Template Free preparation to prepare and baste the circle in one step, and then needle turn to applique it down. My grapes, berries, etc. have always looked acceptable but I am always looking for ways to improve my work. So, I set out to test a few of the methods discussed in the groups. I can say that there is no one definitive way to make circles and that personal preference plays a huge role. So instead of trying to sway anyone towards one particular method, I decided to record both the pros and cons I experienced as I conducted the great circle experiment of 2011.
Gathered over a Freezer Paper or Card Stock Template
The first method I attempted required me to draw several circle shapes on either freezer paper or card stock and them cut them out. Well, it seems I must been out the day they taught circle cutting in Kindergarten because I could not manage to cut out a circle that did not have a flat edge. Like most things in
Gathered over a Mylar Template
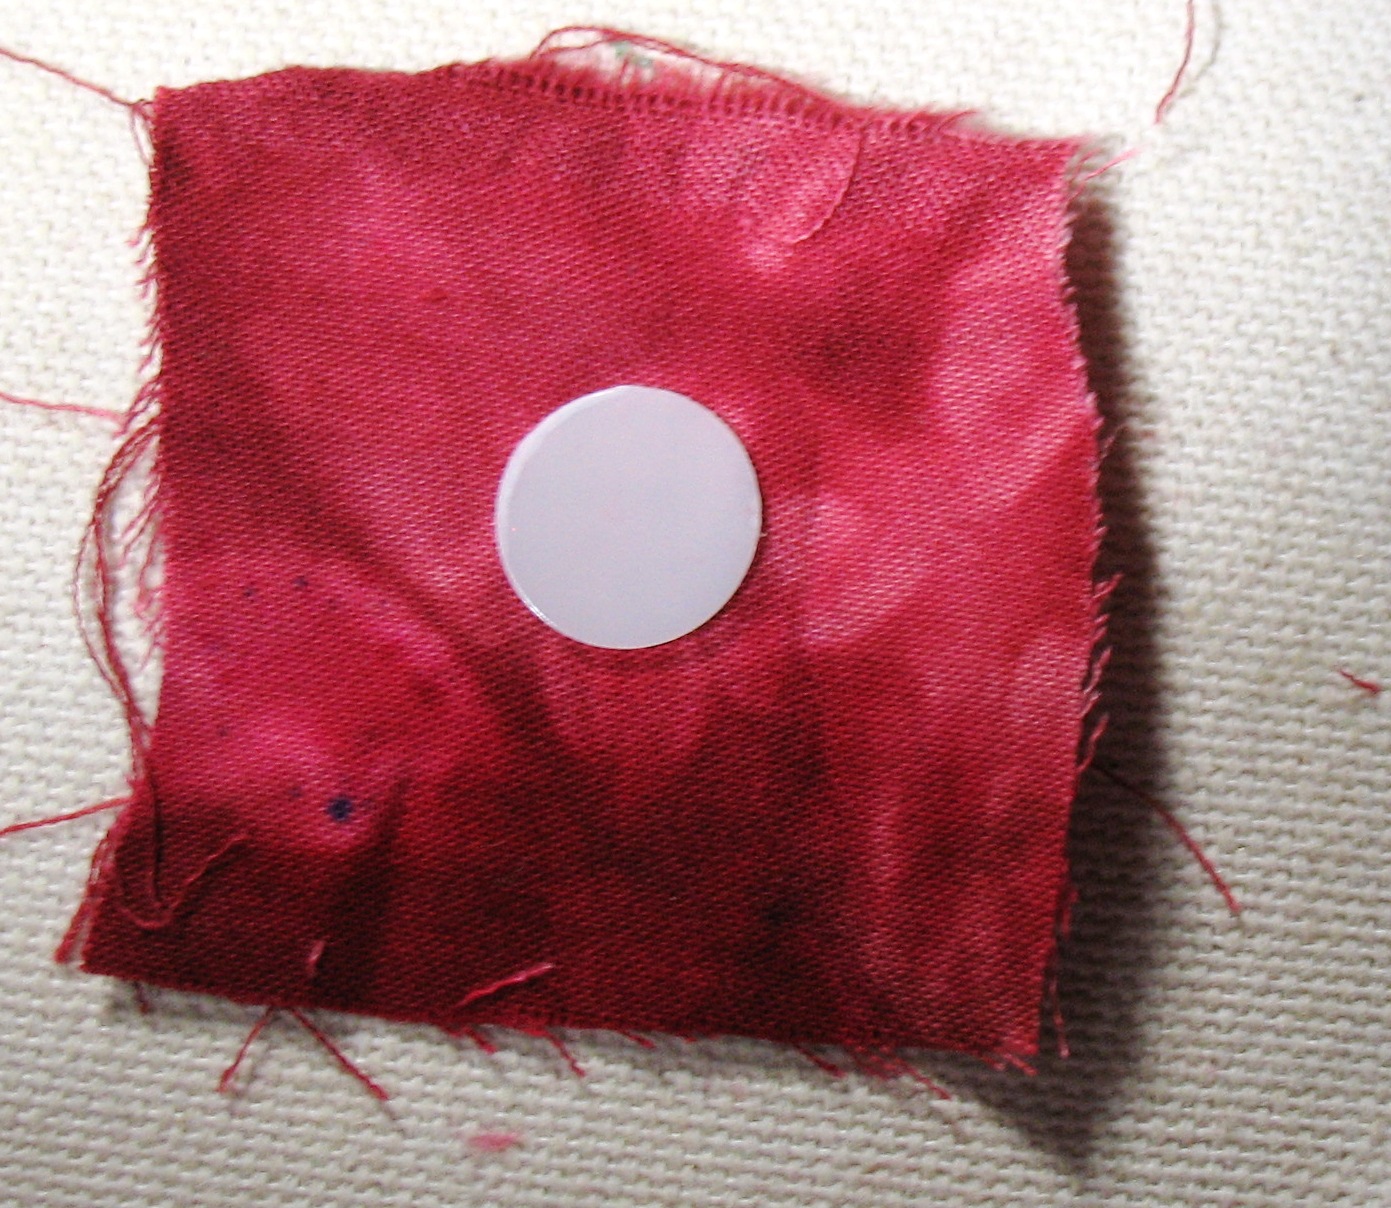
 This method requires the purchase of a set of Mylar Templates. The fabric for the circle is cut about 1/4 inch larger than the finished circle. Using a strong thread, run a line tiny basting stitches just inside the cut line.
 Place the Mylar template in the center of the basted lines. Pull the basting threads to gather the fabric around the template.
 |
Paint the edges of the fabric with either fabric sizing or starch. |
 |
| Place the fabric circle under a medium iron until the starch/sizing dries. |
 After the sizing is dry, loosen the basting stitched to remove the Mylar template. Pull the basting threads gently to close the circle again. Place on your background and stitch. The biggest PRO is that the circle is pretty round. You can't argue with results. However, I did not find the process enjoyable. Which leads me to the CONS. I had to work at my ironing station with a hot iron and sizing. I like my handwork because it's portable and I can stitch anywhere the rest of the family is. Also, the starch and ironing made the circle relatively stiff and hard. I like my fabric to feel like fabric.
 Gathered Around a Mylar Template and Pulled Through a Round Hole
This method is fast because it does not require any stitching. It does require the purchase of a Circleez tool. Basically, you cut a square of fabric the size indicated on the packaging for the size of circle you are making.
 |
| Place Mylar template in the center of the fabric. |
 |
| Gather fabric around the template and twist. |
 |
| Pull excess gathered fabric through red template that comes with the tool. Arrange the gathers such that the circle's edges are nice and smooth. |
 |
| Spray the front with sizing and place under a medium iron until dry. |
 |
| After it's dry, remove from template and trim excess fabric. |
 |
| Several circles ready to stitch. |
After the circle is trimmed, place on your background fabric and stitch. The most notable PRO is that this technique is FAST. I was able to prepare a circle in less than a minute as claimed on the packaging. However, all the cons from the previous technique also apply here. In addition, I was not able to get as perfect a circle because the edge was not as crisp as using the basted gathering around the template.
 |
| Circleez circle |
 This is my old standby method. Please refer to my pictorial tutorial Template Free Circles for a more detailed explanation of this method. Basically, you draw the circle on the wrong side of the background fabric. User a circle template for an accurate shape. My favorite is Skinny Stems & Tiny Circles Ruler by Mary Sorensen. You pin the applique fabric to the front of the background. From the back you baste right on the pencil line. Then from the front you trim the applique fabric seam allowance. Clip one or two basting threads, remove them, and needle turn the seam allowance.
  |
| Trimmed circle. Clip knot and remove one basting stitch at a time. |
 |
| Remove basting stitches and needle turn as you go. |
 |
| Not perfect but not bad. |
The biggest PRO to this technique is that it it TOTALLY portable and does not require any extra chemical (i.e. starch or sizing). The CON is that you need to be fairly good at needle turn get a good result.
Final impressions...
This is by no means all the methods out there. But, this grouping is a good representation of the basic techniques available. I did not find a perfect method. Each has it's fair share of CONS. However, each method has great PROS that I can use to my advantage depending on the project and my objectives. For example, if I have a machine applique project I will use the Gathered over a Mylar Template method. If I have a community quilt or other project where time is short, I will use the Gathered Around a Mylar Template and Pulled Through a Round Hole method. If I am working on a needle turn, hand project I will stick with the Template Free Preparation and Needle Turn method. Finally, but most importantly, this was a completely unscientific study. The Pros and Cons are my personal opinion. The only way to find what works best for you is for you to try techniques on your own.
I invite you to please leave a comment if you have found this blog entry useful. Or, if you have a circle technique that you love and would like me to try. I am always looking for way to improve my quilting!
Until next time...
Best stitches,
Mercy
Mercy
Thanks very much for the tutorial - you explain so clearly!
ReplyDeleteVery interesting. I have been doing my circles over index card/or Mylar plastic, but without the sizing. I leave the gathering thread 5 inches long, so I can use it to applique with.
ReplyDeleteI iron the gathered circles with a steam iron only, and then leave them overnight. Next day I carefully take out the shape and applique the circle. However, like you, I am not enjoying the process. So I might go back to needleturn, as the result is not much different.
Thank you for sharing your experiences!
Jane
Nice to see that I'm not the only one trying as many different methods as possible! I usually resort to the mylar circle templates and baste the edges. Since most of my quilts end up in Canada, I don't have as much worry about the "critter" attraction problem. I do most of my prep work in my sewing room in the basement, but do all my hand stitching in a comfortable chair with great lighting in the living-room, usually with DH nearby watching TV.
ReplyDeleteMercy, I found your post to be very interesting and informative. I am going to post a link to it on my Yahoo Group Handpiecing and Applique.
ReplyDeleteThank you for taking the time to photograph and explain each technique.
Hi everyone! Thank you so much for taking the time to leave a comment. It means so much to me that you find my blog helpful and informative. I love exchanging ideas and learn so much from my internet friends.
ReplyDeleteBest stitiches,
Mercy
Very informative, Mercy. Thank you! I found your blog via the Down By the River blog.
ReplyDeleteI do mine the first way--with cardboard templates that I make myself. I DO like to do the running stitch before cutting the template, however. It makes it easier to cut closer to the basting and eliminates fraying for the most part.
ReplyDeleteThank you for this exercise. i too am looking for a better technique especially for tiny circles. Always looking for the better mousetrap! Stella in Ottawa
ReplyDeleteThe "Gather round...pull through" method (Circleeze) can also be done without ironing. Prepare the circle as directed but instead of using an iron, place the piece under an object with weight, such as in a book. A lady described this to me as she took her applique on planes with her. I'm assuming she flew a lot. It does not require starch. Also, the circles can be formed on a strip of fabric, placing one next to the other, leaving space to trim and pushing the circle up through the bottom of the base plate. Thank you for this excellent preview of this product.
ReplyDeleteVery interesting post, Mercy. I agree with you that they all have their Pros and Cons. Interesting, though, how it all comes back to learning how to needleturn a circle. One stitch at a time, turn, another stich, turn, etc. I've never tried it with back basting (since I'm not a back baster) but will give it a try. I'm right in the midst of trying that Wash Away Applique Sheet by C&T so will let you know how those circles turn out. Another product to try. Wonder if I'll just return to needleturn Annette
ReplyDelete