Stenciling with Inks
Stenciling with Inks
Simple supplies include freezer paper, stencil brushes, Tsukineko All Purpose Inks, paper towels or paper napkins, paper scissors, and a paper plate.
I like to use inexpensive stencil brushes so that if they are ruined during the process it's not a huge loss.
Cut a window template from freezer paper and iron to the right side of the fabric.
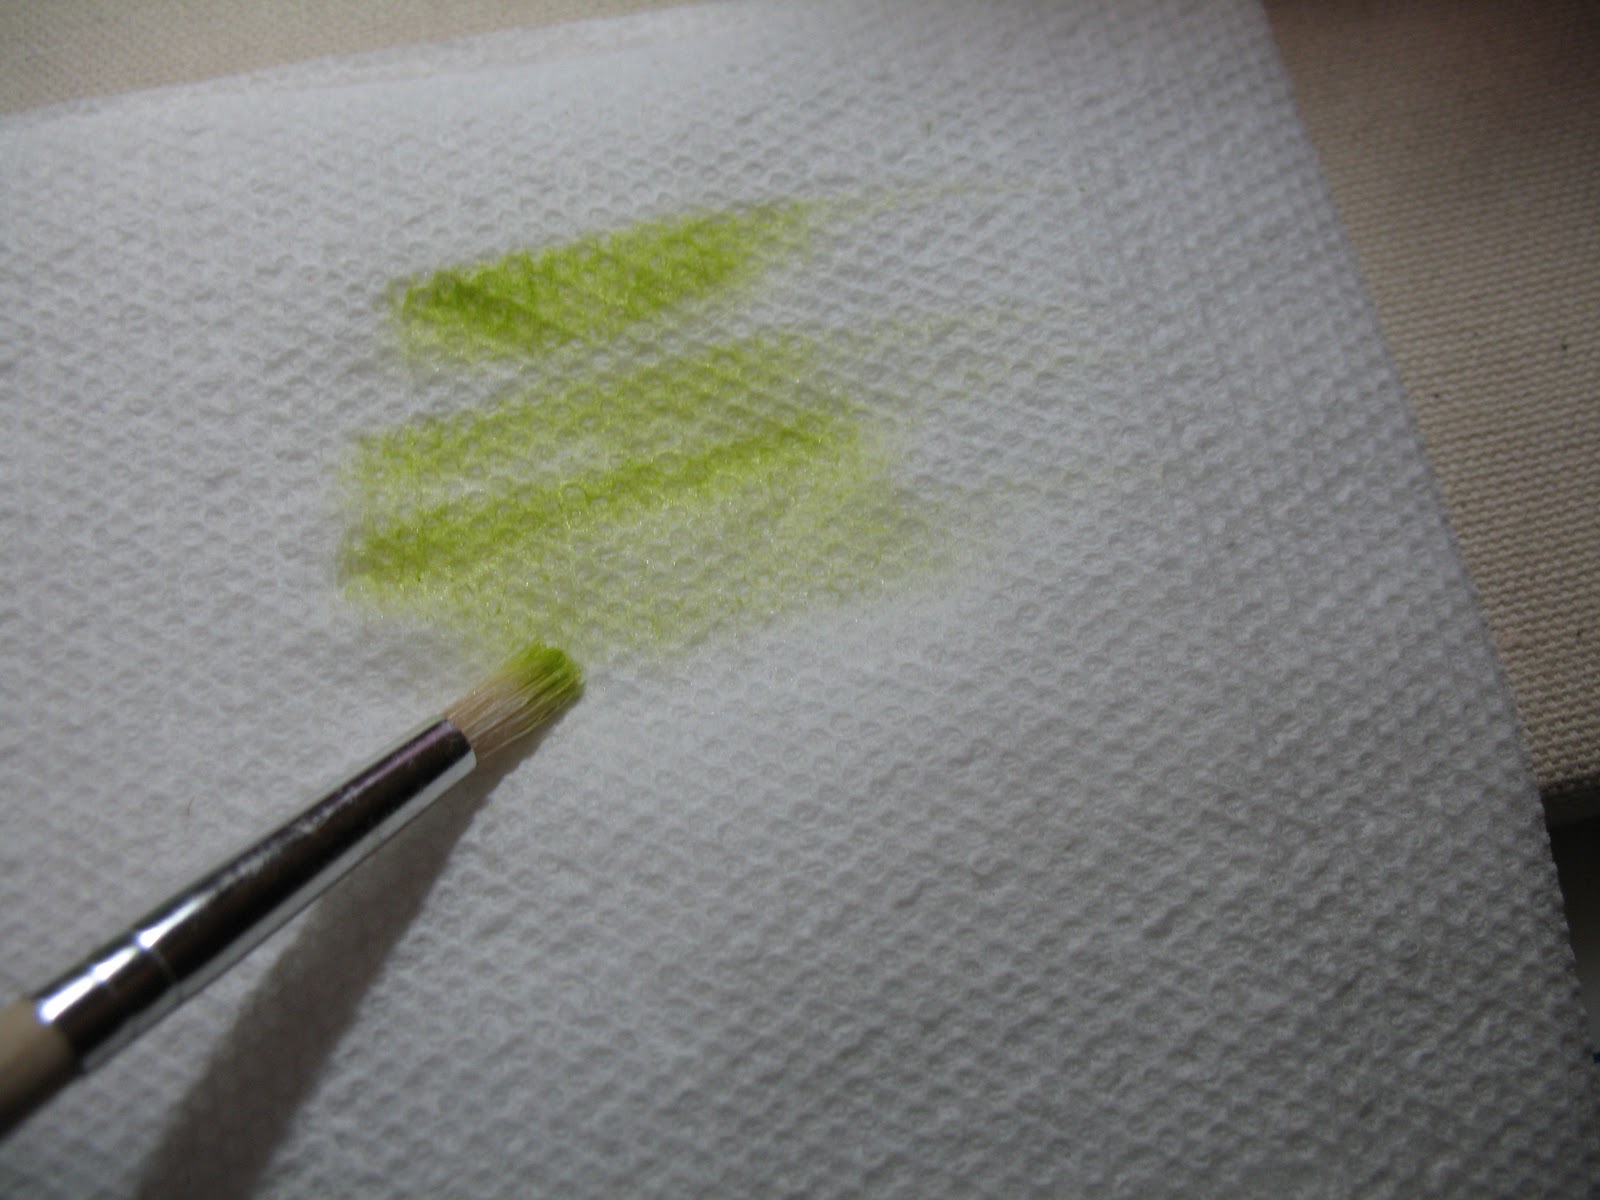
Use a very small amount of ink. Dip only the very tip of the bristles in the ink.
Rub the brush on a stack of paper towels or napkins so that the brush is almost dry.
Rub the almost dry brush on the fabric just inside the freezer paper stencil. Be careful to not lift the freezer paper edges.
Cover with a clean paper towel and press with a hot iron to set the ink.
Remove the freezer paper stencil to reveal a completed, stenciled shape ready to be incorporated into your quilt.
A few things to avoid... Work with the print or markings on the fabric or risk the existing print clashing with the shading.
If you draw your stencil shape on the freezer paper using a pencil or other marking tool, be sure to remove it completely from the freezer paper edge before using the inks. Otherwise the moisture of the inks will cause the marking pencil to bleed onto the fabric and muddy up the edge.