If you need a refresher on Template Free Applique preparation, study the tutorial,
Pictorial Tutorial Template Free.
 |
| Perfectly Placed Point are a cinch using Template Free Applique preparation techniques! |
 |
| Mark the point with perfectly placed basting stitches. |
Baste the point shape applique fabrics in place as usual. Be careful to either end or start a basting stitch exactly on the point's tip.
 |
| Only clip the first side leading to the point. Do not clip the point. |
I describe stitching a point as if I'm describing hiking a mountain. First, you will prepare to climb to the summit. Clip every other basting stitch up the side you will climb. Leave the stitch that marks the point placement in place.
 |
| Needle turn applique the first side right up to the point. |
Needle turn applique up to the mountain top. Take another small stitch at the summit just make sure the point if perfectly placed.
 |
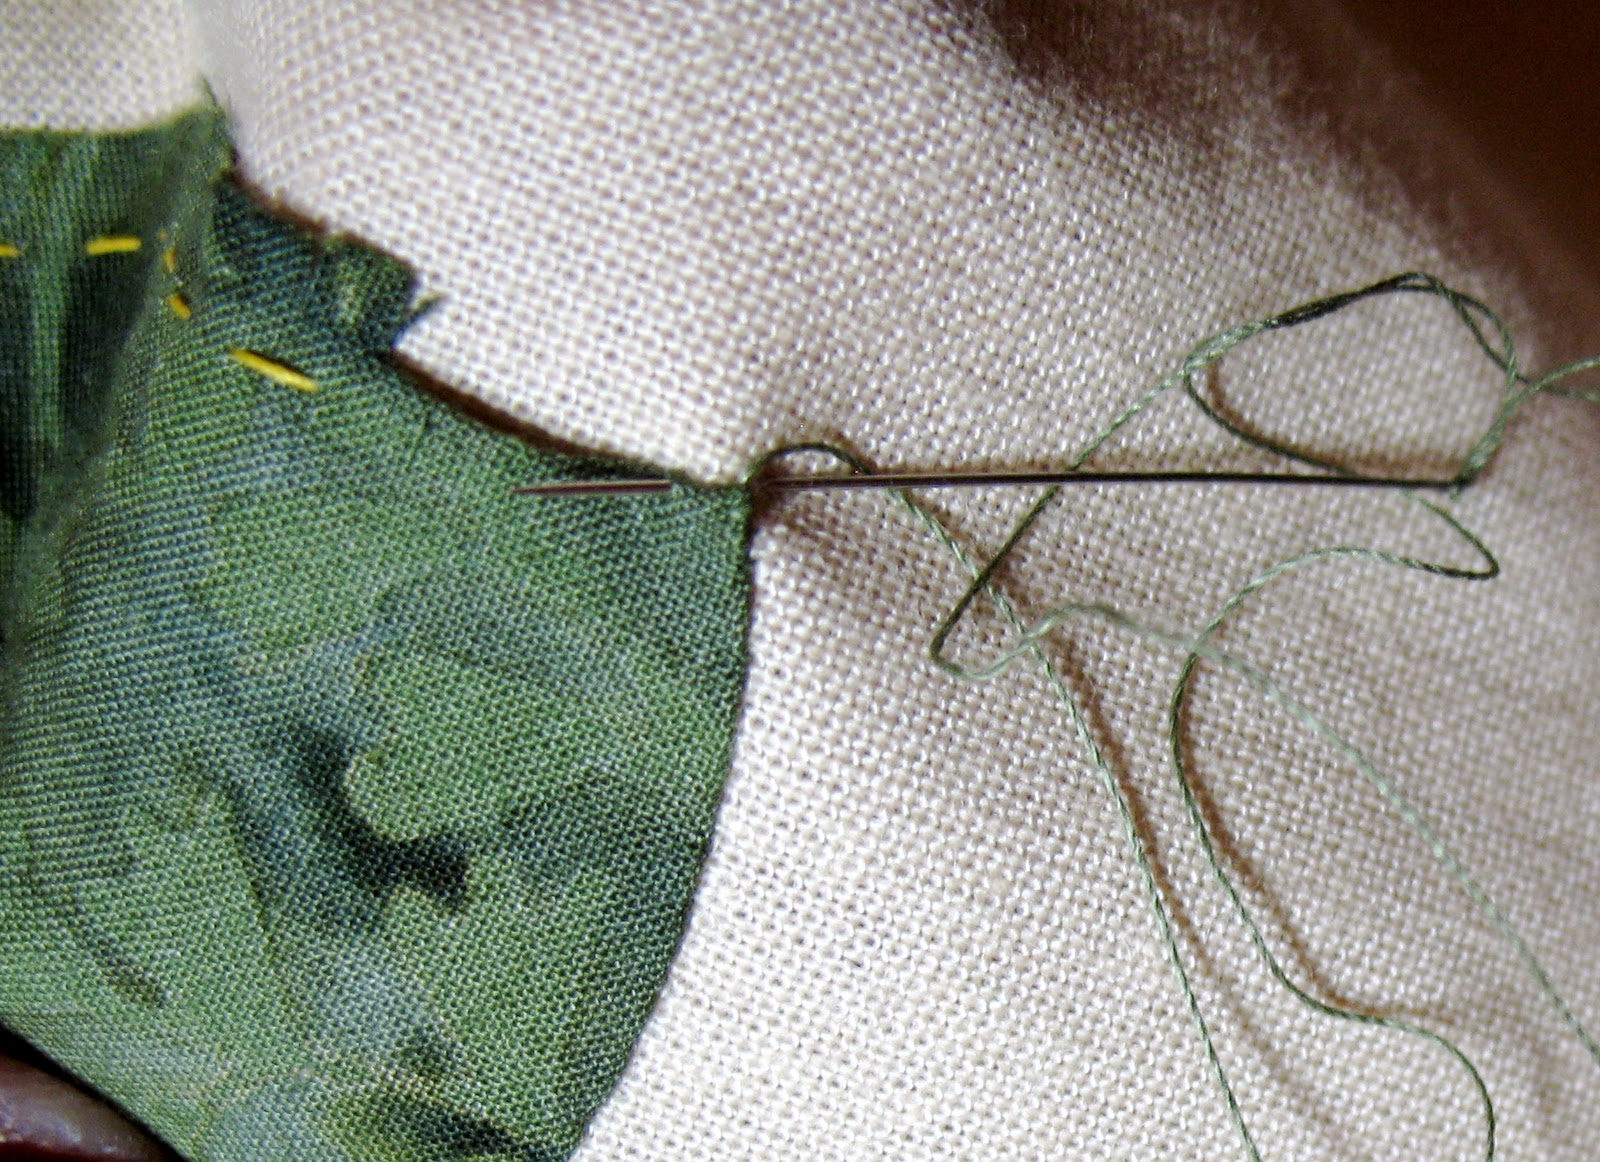
| Remove the single basting thread marking the point. |
Clip and remove the first basting thread that marks the summit.
 |
| Sweep the point's seam allowance under. |
If you or I were really mountain climbing, I would guess we would make sure to take a nice long rest at the summit. Therefore we would like a nice, flat place to sit and look at the view. That is the next step. Use the shaft of your needle to sweep the seam allowance at the point under. The effect is a flat top across the point.
Now here is the trick (please do not skip this step), turn the applique around in your hands so that the point is pointing towards your belly. Then gently tug the applique thread out towards yourself. Be careful not to point the thread too much to the left or right (unless it's a design choice) because the point will align to which ever direction you tug.
 |
| Sweep seam allowance away from yourself. |
 |
| Stitch down the other side of the point. |
With the applique shape point still pointing towards yourself, use the shaft of the needle to sweep the seam allowance of the downward slope away from yourself. This is important because the seam allowance cannot fit into the space underneath the point. Instead, the bulk needs to be distributed along the entire edge. When the seam allowance is neatly turned under, take a stitch.
 |
| Enjoy your perfect point! |
Continue stitching the downward slope. Now step back and enjoy your perfect point!