

This memory is the inspiration for this small wall hanging. I started by selecting a background and border fabric from my husband's hand dyed fabric stash. I selected a vibrant, rich tree trunk fabric. Then came the fun part! Just as I did when I was 6 years old and used every crayon, I cut a small piece of every single color of fabric my husband hand dyed in 2014.

Appliquing this project by traditional methods would have involved a ton of prep work and lots of stitching time. Plus, the fussiness of traditional methods would not have yielded the light-hearted, spontaneous feel I was trying to capture. I'm hoping the Tropical Folk Art technique is going to give me the whimsical feel of a six year old's drawing.
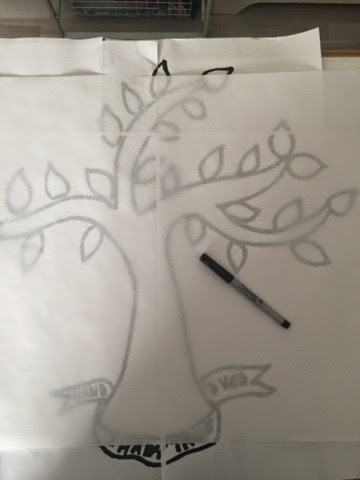
I rough sketched the tree and some leaves just to make sure the scale was pleasing. I then traced the tree trunk shape onto freezer paper and cut it out.

I then pinned the freezer paper shape to the front of the tree trunk fabric and cut around the freezer paper adding a FAT 1/4 inch. 

I then peeled off the freezer paper. This is the only template I plan to use for the entire project. Yay! Honestly, if I was not worried about scale I would have free cut the tree trunk 👍
Tomorrow's installment is stitching the tree!
Until then - best stitches from Mercy in sunny and warm Miami
Mercy, thank you for showing your technique here. And I didn't know your husband dyed the fabrics. That is so neat. I look forward to seeing the result, the picture looks cute.
ReplyDeleteWhat a fun project! Thanks for sharing your process. Will watch for tomorrow's post :)
ReplyDelete