Showing posts with label Ricky. Show all posts

Friday, December 28, 2012

New Tip for the New Year

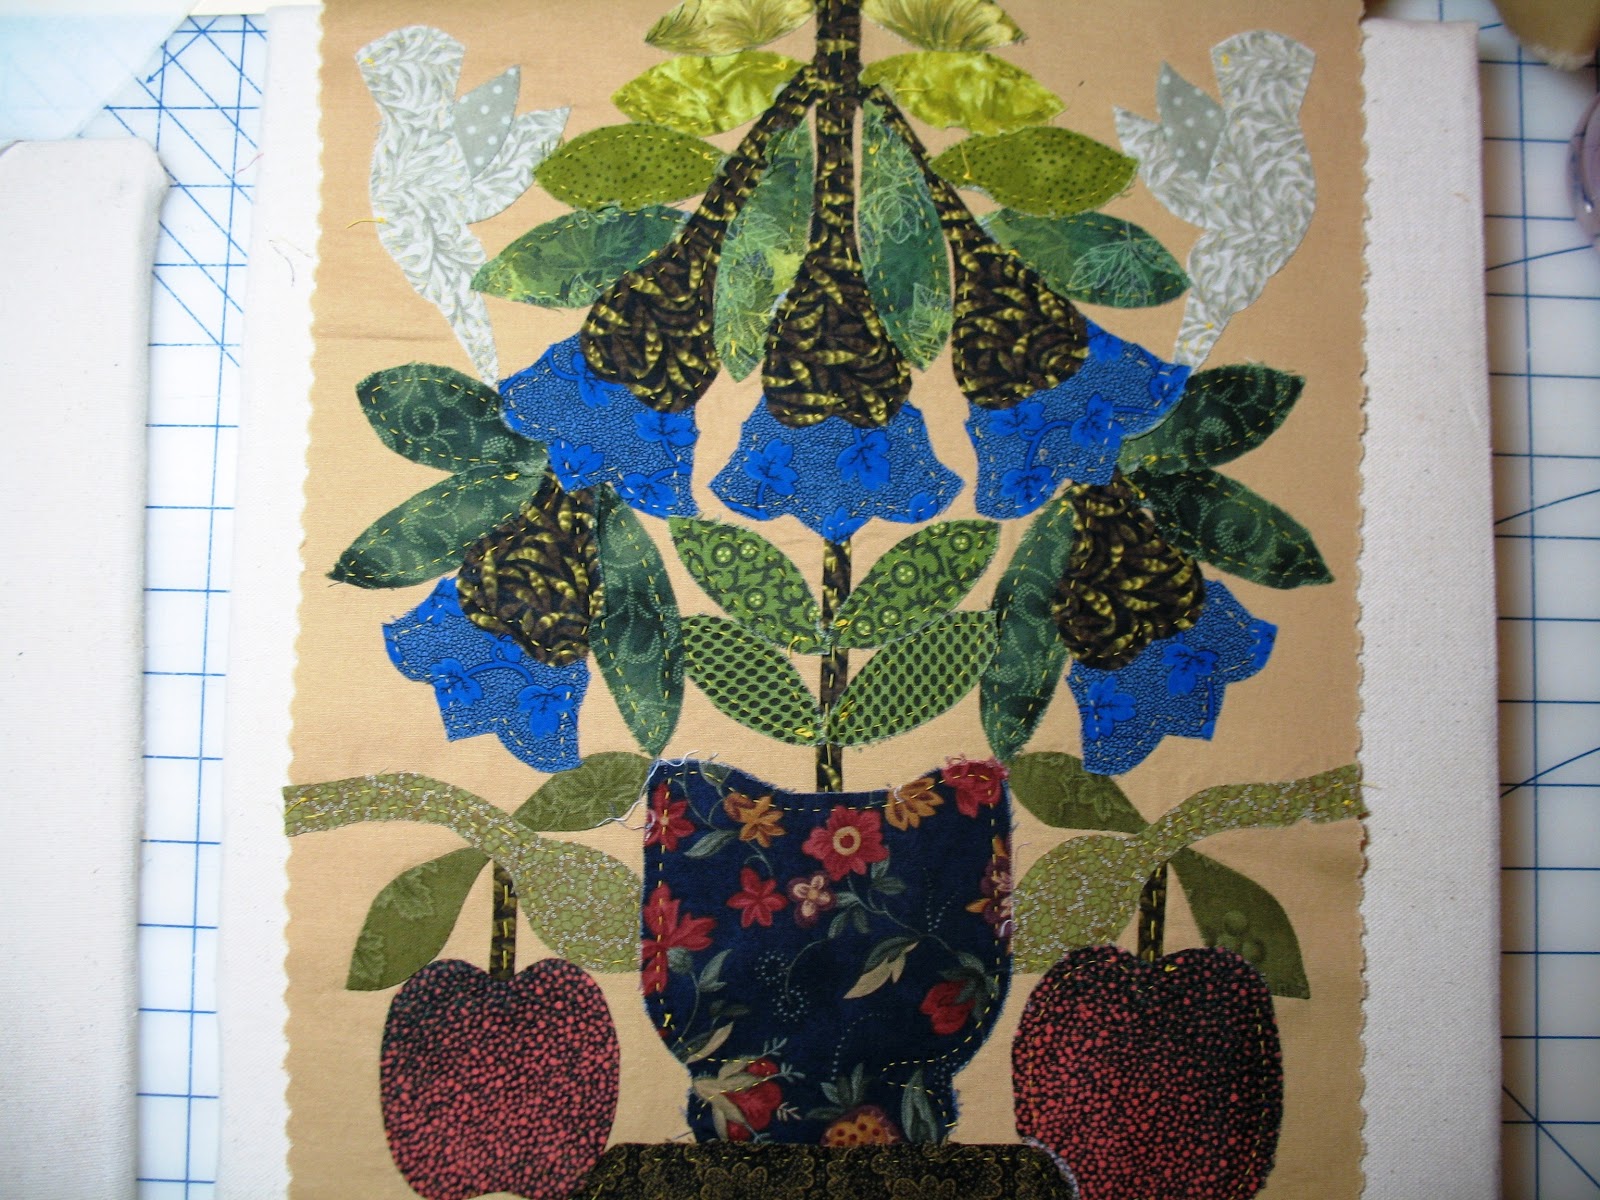
In progress Rosebud Heart Wreath,  design by Elly Sienkiewicz
 I hope everyone is having a wonderful holiday season and that it was the merriest Christmas ever!  We were very fortunate to spend a very quiet, low key holiday, surrounded by family and friends. 

As usual time has gotten away from me and I was not able to post in time for Christmas.  Instead, please accept this tip as a belated gift. 

I love to add folded, gathered, 3-dimensional flowers to my applique blocks.  I usually prepare them ahead of time so that they are ready to go when I sit to applique.  In the case of the Rosebud Heart Wreath pattern (designed by Elly Sienkiewicz) there are several folded rosebuds - 21 in all.  To complicate matters, I chose to do them in 2 colors out of mottled, hand-dyed silk.  I wanted a certain symmetry to the layout so I created a mini, portable design wall that I could keep in my sewing basket.
Double-sided tape in a manila envelope makes a mini design wall
 I learned to use double sided tape in a manila folder to keep templates organized in class from Mary Sorensen.  Even though I don't use templates in my applique preparation I always remembered this organizing tip and decided to try it out on my rosebuds.  It worked like a charm!  I played with the lighter colors on top and the darker colors on the bottom, making sure to match both sides of the wreath.  When I finally decided on the layout, I stuck the rosebud in place on the tape in the exact order I wanted them to be stitched on the block.  The tape held them in place securely until I was ready to applique. 


Folded Silk and Gathered Rosebuds waiting to be added to applique block
Closeup of Rosebud Heart Wreath, designed by Elly Sienkiewicz
This is the last block I will be working on this year (for a few days more).  Then beginning in January I will switch to embroidery to give myself a break from applique.  My goal for 2013 is to embroider the 9 blocks I have stitched thus far and stitch the remaining 4 to complete the 13 block set.  I do not have anything planned or ready for the setting triangles but that will be the project for 2014!

From my family to yours - I wish you a happy, healthy New Year with lots of time for family, friends, and stitching!

Best stitches,
Mercy in sunny, warm Miami

Happy New Year from the best fabric guard dog ever - Ricky!


Wednesday, November 2, 2011

Template Free (Back Basting) When the Fabric is Scarce...Plus Fabric Guard Dog in Action!


Hello blog-o-sphere friends! This blog is a direct result of several emails I received recently regarding the best way to make use of limited fabric to prepare applique the Template Free (Back Basting) way.  Sometimes this happens because no matter HOW BIG our stash, the PERFECT fabric is just a tiny scrap.  Most commonly, this happens because we sign up for a Block Of the Month (BOM) and the designer or person packaging the kits uses applique prep techniques that are more frugal with fabric.  Another reason is that with the price of cotton fabrics sky rocketing quilt shop owners are trying to keep kits affordable.  Following is a Pictorial Tutorial of how I tackle this situation.  In addition, if you would like to review various techniques, including Template Free (Back Basting) preparation, Applique Points, Inner Curves, Outer Curves, Fussy Placement, etc., please use the links on the right hand side of this page titled, Pictorial Tutorials. As always, feel free to email me if you have any questions. 

Best stitches,
Mercy in Miami

PS - Make sure you scroll to the bottom to see Ricky's latest adventure!


Trace design on back of background as usual.


Here is a small piece of fabric that will be the three flowers in the design.


Pin mark the seam allowance around the first flower.

This is what the pin marking looks like from the front of the background.

Use the pin marks on the front to guide placement of the applique fabric.  Get the edge of the fabric as close as you can to the pin marks.

Pin applique fabric in place. Baste and trim as usual.


Pin mark the next flower.

Repeat the process of using the pin marks on the front to guide placement of the applique fabric.  Again, get the fabric edge as close as possible to the pin marks.


Sometimes you can save fabric by pinning multiple shapes at the same time.  Just make sure there is room for a seam allowance between the shapes. Baste and trim as usual.


Viola! 


Here is Jim holding up a Superman pillowcase I made for him as a thank you for being my Superman and grilling for my Round Robin group this past weekend.

Of course it didn't take long for Ricky and Jim to discover the pillowcase scraps.  It seems that this is what all the Fabric Guard Dogs are wearing this year!

Good boy Ricky!  You nabbed your first fabric thief!


Please no cameras, I have a secret identity to protect!


Sunday, October 30, 2011

2011 Round Robin Reveal...Plus This Year's Halloween Costume Parade

Autumn is a second spring when every leaf is a flower.
Albert Camus French existentialist author & philosopher (1913 - 1960)
Happy Halloween and Harvest Festival!  Of course, in Miami all the beautiful maple leaves are made of silk and the smell of apple trees is supplied by Yankee Candle.  As children we always chose our costumes to be as skimpy as possible, not because we were exhibitionist, but because it was still so hot in October.  Regardless, I love Fall so I turn the air conditioning down low, light scented candles, and scatter silk Autumn colored leaves!

Here's a sneak peek at what the best dressed dogs will be wearing for Halloween this year!
Ethel the Good Witch of the West

Lucy claims The Devil Made Me Do It

Ricky is a Four-eyed Alien


This weekend, a small group from my local quilt guild got together at my home to reveal the Round Robin (RR) quilts we have been working on this year.  For those of you are are not familiar with RR, the premise is as follows:
  1. Select a block and collect coordinating fabrics.  Put everything into a bag large enough to hold everything.  Include a label, notepad, and a disposable camera (optional).
  2. All participants meet and present their blocks and fabrics to the group.
  3. Hand off your bag to the next person in line in the group.  That person then adds a border, or embellishment, or row (depending on rules the group sets).
  4. The group meets again, at established intervals, i.e. once a month, or every two months, etc.  You hand off the bag you just finished to the next person in line again.  The original owner is NOT allowed to see their block's progress at each exchange.
  5. After every one's block has been passed to everyone in the group, the block (by this time a quilt) is passed back to the owner.  This is called the Reveal. 
I have participated in several RR's and I have always loved the results.  They are always unexpected because they are rarely what I would have done so they open me up to new possibilities and push my creative boundaries.

Mercy's Brickmaker's House Closeup

Mercy's Brickmaker's House
My center is a block I stitched as a sample for Elly Sienkiewicz's book Baltimore Elegence, entitled Brickmaker's House.  I love this block because my paternal grandfather was a stone mason.  I wanted to turn it into a wall hanging but was totally stumped as to how to finish it so I submitted it for my RR.  I LOVE how it turned out!  Thank you Robinette's!!!


Here are the other Robinette's finished quilts.  Please keep in mind that each quilt top was worked on by several individuals.  I think the creativity really comes through.  Enjoy the mini quilt top show. 
Until then...

Best stitches,
Mercy in Miami


Jen's Peacock

Jen's Peacock Closeup

Linda's Geisha

Linda's Geisha Closeup

Carol G.'s Cottage Quilt

Carol G.'s Cottage Quilt

That's me holding up Phyllis' Crazy Patch Christmas

Phyllis' Crazy Patch Christmas Closeup

Carol S.' Desert

Carol S.' Desert Closeup

Karen's Seashore

Gerry's I Love Card Tricks

Lois' Geisha

Lois' Geisha Closeup

Friday, October 28, 2011

We All Start Somewhere, Now If I Could Only Stop... Plus, Meet Ricky!

First Applique Block
As I was cleaning out a drawer in my sewing room I found the applique block that I stitched in class with Jeana Kimball a little over 13 years ago.  It was during this class that I learned Template Free (Back Basting) preparation and needle turn applique.  It was during this class that I fell in love with hand applique.  And the rest, as they say, is history. 


Poppy
Fast forward to today.  Here is the latest block I have finished.  It is the Poppy block designed by Jeana Kimball for the Cottage Garden quilt.  I also completed the House Finch block.
House Finch


Basted and Ready to Applique
I am also working on the Civil War Bride quilt by Corlis Searcey.  I have completely basted block one. 


Fist layer basted

This is the perfect pattern to pre-baste the entire block because there is minimal overlap of the applique pieces.  How does she do that you ask?  Well, first I baste everything I possibly can without overlap of the stitching line.  Where applique pieces are very close, I move the seam allowance out of the way before I baste the piece next to it. 

Possible overlap areas pinned out of the way to continue basting

In some cases I may even applique a portion of the piece down so that I can baste another piece on top of it.  The idea is to baste as much as possible to have the greatest amount of uninterrupted applique time!

Speaking of applique time....  Jeana's class, where I fell in love with hand applique, was also the beginning of my obsession that has led to a houseful of quilting UFO's (UnFinished Objects).

Realizing that many of my quilting brethren suffer from this same obsession, I wanted to pass on a technique for finishing projects that was recently passed on to me.  Now, before I share, I need to state that this came directly from my yahoo group.  I tried to research the originator but was unsuccessful.  I only found numerous references to it appearing in various blogs and quilt related newsletters.  I would like to share  THE POWER OF 10.

The "Power of 10" in quilting does not refer to a higher mathematical formula. Instead, it is a simple way to complete quilt projects that we want to finish before.

1. Simply find the projects that you are no longer interested in completing and pass them on to someone who would love it as much as you once did.

2. List 10 projects that you would like to complete. Now remember "Only 10" projects are to be on the list.

3. Begin working on the projects on the list and spend three hours toward completing it.

4. Keep a list of projects and the hours worked.

5. Once three hours are spent on a project move to the next. A quilter's interest wanes and is usually spent after three hours. Now if a project requires two to four hours it doesn't matter. Simply finish the project. Feel good about finishing it.

6. Find another project and add it to the list. Remember, only Ten Projects are your focus.

7. Continue to rotate the projects you are working on.

8. List the supplies needed to finish your projects.

9. Shop at Local Quilt Shop for items needed to finish your projects.

10. The `Power of Ten` becomes reality when you are able to share your project.


Ricky on the left, Lucy on the right

On a different topic altogether, I would like to introduce everyone to Ricky Savage.  Ricky is a 16 week old German Sheppard puppy and my birthday present.  He has bonded quite nicely with his harem, Lucy and Ethel, and is quickly realizing females rule the home!  And before you ask, Fred is going to be a goldfish!
All of our puppies have grown up to be excellent Fabric Guard Dogs.  Here is Ricky taking his Fabric Guard Dog Oath.
I promise to protect Mommy's sewing room!


Fabric Guard Dog on Duty!
 And here is Ricky on his first guard dog shift! 


Until next time...

Best stitches,
Mercy in Miami